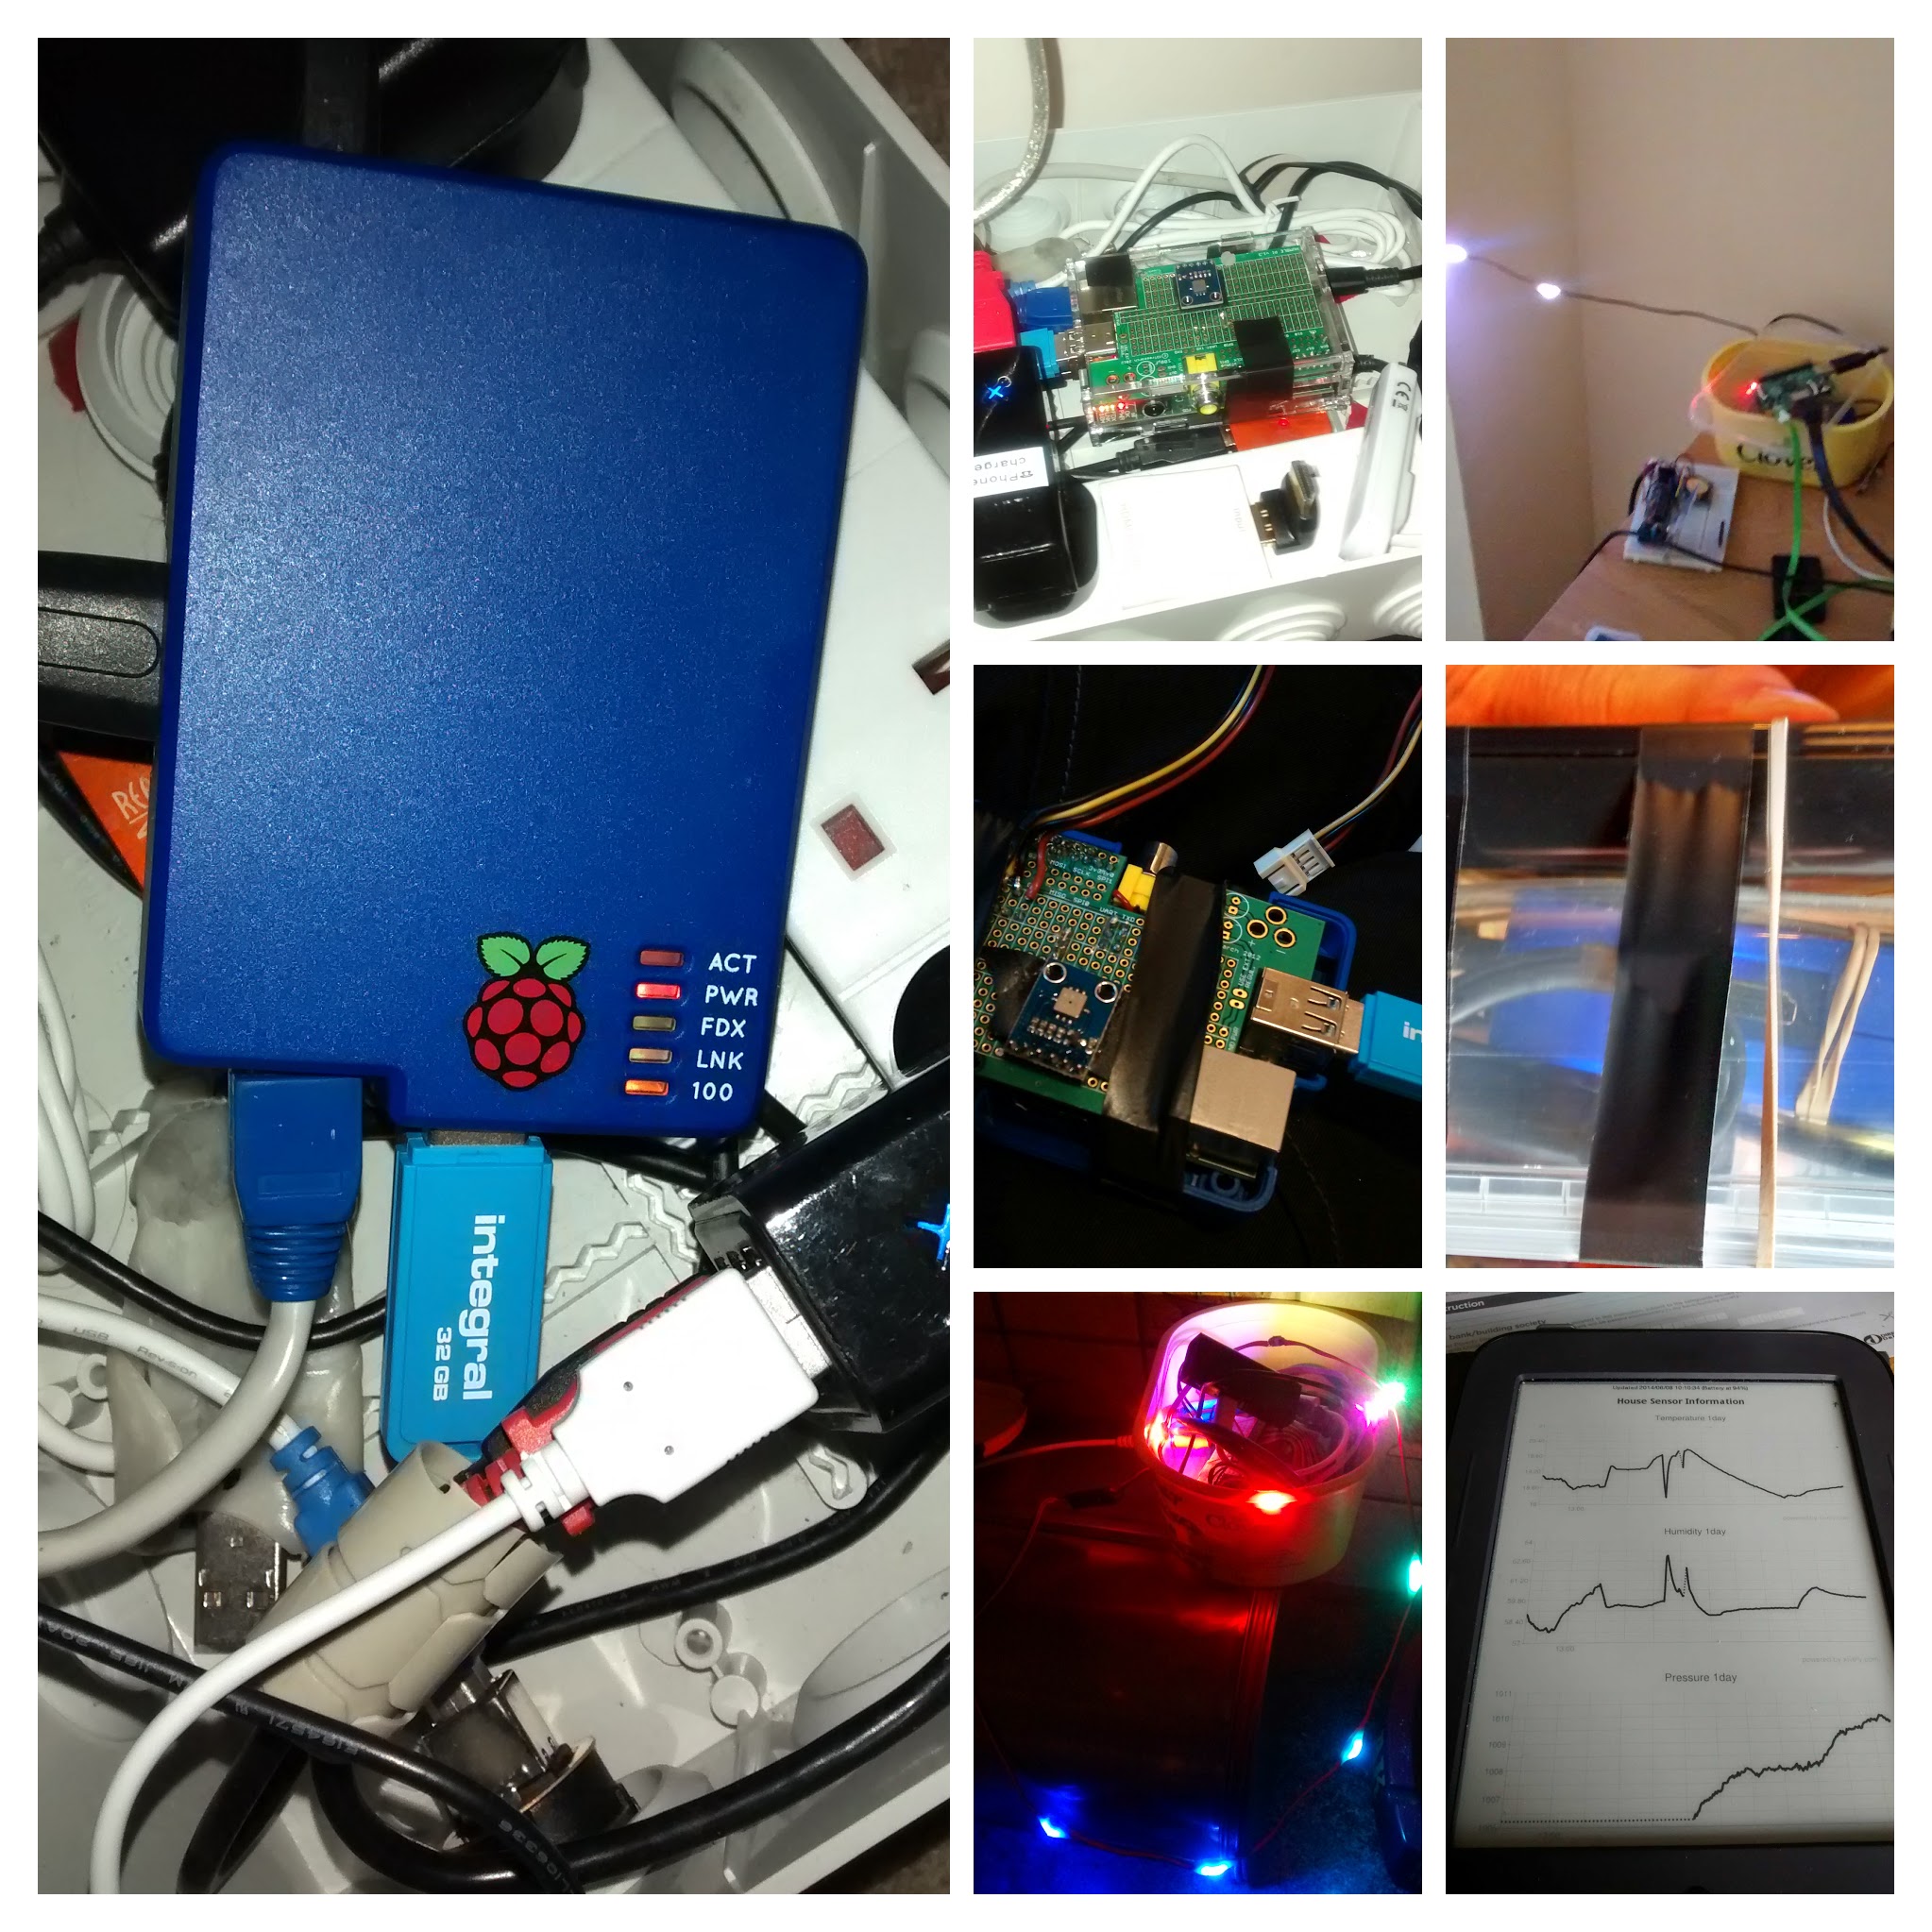
So I have a few raspberry pis that (3 in fact!), and sometimes have them set up for remote access such as a raspberry pi webcam using the raspberry pi camera, web servers, remote power socket control, weather monitoring, energy usage – the usual geeky stuff.
Anyway, sometimes the thing runs smoothly and reliably for years on end without problems (usually the less you tinker with it!), surviving power cuts and what have you. My first Model B Rev 1 Pi (thanks Dad!) is an example of these. It ran for years monitoring temperature/humidity and air pressure, before finally being shutdown due to a house move (someday i’ll have to resurrect it!).
Sometimes however, things don’t go to plan and Linux will crash or lock up, or the network interface will go down on power cuts. For instance I once wrote a script to restore the wifi connection of a pi in my GF’s locked and empty house using a lovely blackberry smartphone while sitting in a buddy’s car eating kfc chicken outside. But that’s another story! (Thanks Andy!). It usually happens right when you’re away the Pi and trying to login remotely!
So I built an Arduino hardware watchdog that keeps an eye on the ping result of a host on the network, and reboots the device if it fails tor respond. IT has a 16×02 lcd to display current action/state although someday i’d like to have leds for each state instead. with a button to manually reboot.
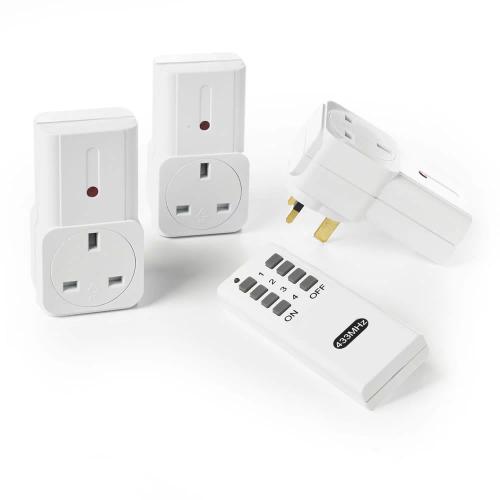
The project utilized a remote control socket (from Maplin, RIP), an arduino uno with an ethernet shield and a 16×02 lcd shield (with pin 10 bent out to prevent issues between the ethernet shield and the lcd shield backlight) plus a 433mhz tx module and the rcswitch library.
/*
Ping Example
This example sends an ICMP pings every 500 milliseconds, sends the human-readable
result over the serial port.
Circuit:
Ethernet shield attached to pins 10, 11, 12, 13
433mhz tx module on pin 2
LCD on pins 8, 9, 4, 5, 6, 7
Pin 10 of the LCD bent out of socket to prevent issues caused by the backlight
created 30 Sep 2010
by Blake Foster
Modified by Garreth Tinsley
*/
const int txDataPin = 2;
#include <SPI.h>
#include <Ethernet.h>
#include <ICMPPing.h>
#include <RCSwitch.h> // for 433 tx module/remote switch control
#include <LiquidCrystal.h> // For LCD
long retrytimeout = 15L * 1000L; //recheck every 15 seconds
long cycletimeout = 120000;
long starttime;
long currtime;
bool looptwice = false;
byte mac[] = {0xDE, 0xAD, 0xBE, 0xEF, 0xFE, 0xED}; // max address for ethernet shield
//byte ip[] = {192,168,2,177}; // ip address for ethernet shield
IPAddress pingAddr(192, 168, 1, 2); // ip address to ping
SOCKET pingSocket = 0;
char buffer [256];
ICMPPing ping(pingSocket, (uint16_t)random(0, 255));
RCSwitch mySwitch = RCSwitch();
LiquidCrystal lcd(8, 9, 4, 5, 6, 7); // initialize the LCD library with the numbers of the interface pins
void setup()
{
lcd.begin(16, 2);
lcd.setCursor(0, 0);
lcd.print(“Rebooter 0.2”);
//0.1 it works!
//0.2 it works an is neater (lcd printing countdown, ip addr print not . after last octet, padding seconds)
lcd.setCursor(0, 1);
lcd.print(“starting…”);
Serial.begin(9600);
// start the Ethernet connection:
if (Ethernet.begin(mac) == 0) {
lcd.clear();
lcd.setCursor(0, 0);
lcd.print(“IP DHCP CONFIG”);
lcd.setCursor(0, 1);
lcd.print(“Failed! Halting.”);
// no point in carrying on, so do nothing forevermore:
while (true) {
Serial.println(“no dhcp, halted”);
delay(1000);
};
}
lcd.clear();
lcd.setCursor(0, 0);
lcd.print(“IP DHCP CONFIG”);
lcd.setCursor(0, 1);
printIPAddress();
delay(2000);
//start the rc tx module
mySwitch.enableTransmit(txDataPin);
}
void loop()
{
lcd.clear();
ICMPEchoReply echoReply = ping(pingAddr, 4);
if (echoReply.status == SUCCESS)
{
lcd.setCursor(0, 0);
lcd.print(“Ping succeeded.”);
sprintf(buffer,
“Reply[%d] from: %d.%d.%d.%d: bytes=%d time=%ldms TTL=%d”,
echoReply.data.seq,
echoReply.addr[0],
echoReply.addr[1],
echoReply.addr[2],
echoReply.addr[3],
REQ_DATASIZE,
millis() – echoReply.data.time,
echoReply.ttl);
starttime = millis();
currtime = starttime;
long prevtime = starttime;
while (currtime <= starttime + cycletimeout) {
if (currtime >= prevtime + 1000) {
//update the lcd every second
lcd.setCursor(0, 1);
lcd.print(“retest in: “);
lcdPrintSecondsQuad(((starttime + cycletimeout) – currtime) / 1000L);
//lcd.print(“s”);
prevtime = currtime;
}
delay(100);
currtime = millis();
}
}
else
{
sprintf(buffer, “Echo request failed; %d”, echoReply.status);
lcd.setCursor(0, 0);
lcd.print(“Ping failed”);
//ensure ping has failed twice consecutively
if (looptwice == true) {
lcd.setCursor(0, 1);
lcd.print(“Switching off…”);
/* See Example: TypeB two rotary */
mySwitch.switchOff(4, 4);
delay(3000);
lcd.setCursor(0, 1);
lcd.print(“Switching on…”);
mySwitch.switchOn(4, 4);
lcd.clear();
lcd.print(“Waiting 1 minute”);
lcd.setCursor(0, 1);
lcd.print(“please wait…”);
looptwice = false;
//delay(cycletimeout);
starttime = millis();
currtime = starttime;
long prevtime = starttime;
while (currtime <= starttime + cycletimeout) {
if (currtime >= prevtime + 1000) {
//update the lcd ever second
lcd.setCursor(0, 1);
lcd.print(“reteest in: “);
lcd.print(((starttime + cycletimeout) – currtime) / 1000L);
lcd.print(“s”);
prevtime = currtime;
}
delay(100);
currtime = millis();
}
}
else {
lcd.setCursor(0, 1);
lcd.print(“retest in 15s”);
looptwice = true;
starttime = millis();
currtime = starttime;
long prevtime = starttime;
while (currtime <= starttime + retrytimeout) {
if (currtime >= prevtime + 1000) {
//update the lcd ever second
lcd.setCursor(0, 1);
lcd.print(“retest in: “);
lcdPrintSecondsQuad(((starttime + cycletimeout) – currtime) / 1000L);
prevtime = currtime;
}
delay(100);
currtime = millis();
}
delay(retrytimeout);
}
}
Serial.println(buffer);
}
void printIPAddress()
{
Serial.print(“My IP address: “);
for (byte thisByte = 0; thisByte < 4; thisByte++) {
// print the value of each byte of the IP address:
lcd.print(Ethernet.localIP()[thisByte], DEC);
Serial.print(Ethernet.localIP()[thisByte], DEC);
if (thisByte < 3) { //dont dot if last octet
lcd.print(“.”);
Serial.print(“.”);
}
}
Serial.println();
}
void lcdPrintSecondsQuad(int digit)
/* A ten percent reduction in input voltage
will cause the lower bound to drop by ten.
This sketch is calibrated for ~4.9-5.1v
using the linksprite LCD shield. */
{
if (digit < 10)
{ // 9s
lcd.print(” “);
lcd.print(digit, DEC);
lcd.print(“s”);
}
else if (digit < 100)
{ // 99s // 10s
lcd.print(” “);
lcd.print(digit, DEC);
lcd.print(“s”);
}
else if (digit < 1000)
{ //999s //100s
lcd.print(digit, DEC);
lcd.print(“s”);
}
else if (digit > 999)
{ //1000s
lcd.print(digit, DEC);
}
}
PPS if anyone knows how to get wordpress to display C++/Arduino sketches nicely with syntax highlighting etc, please let me know in the comments!


